Installing 3DFarm
You should have the terminal open and be connected to the Raspberry Pi at this stage. This is important for the next steps.
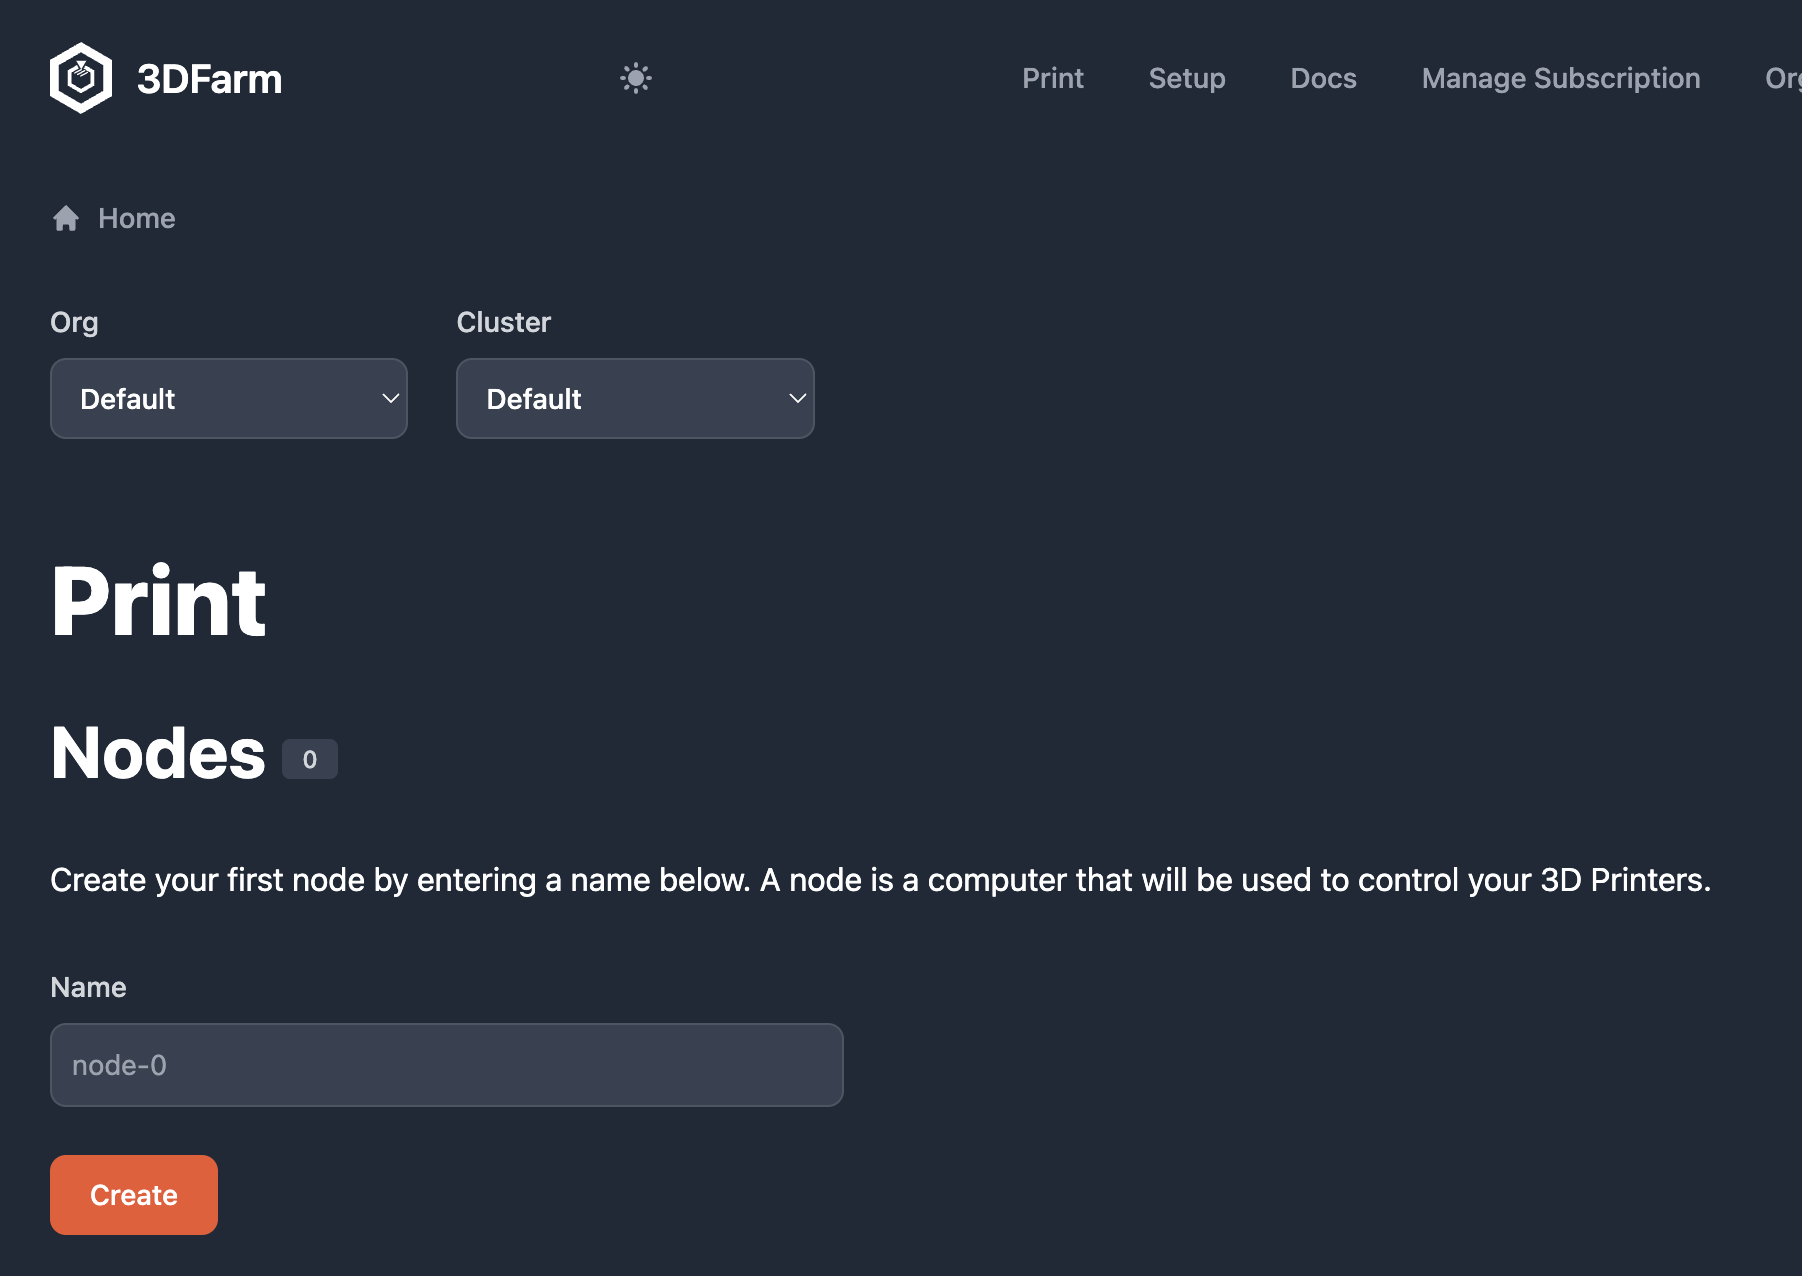
If you haven't done so already head over to https://3dfarm.io/signup and create an account. After you've hit sign up and opened the link in the email you'll be asked to select a plan. You can come back to this later. For now, click Print in the top navigation bar. You should see something similar to the following:

Here there is a section for creating your first node.
Terminology
Before we continue it's useful to know the three main concepts in 3DFarm.
Node
A Node is a computer to which you connect your 3D Printers. Nodes connect to 3DFarm to allow you to control your printers through the web interface located at https://3dfarm.io.
Cluster
A Cluster is a group of nodes. A print farm typically has many printers and due to physical limitations of how many printers can be connected to a single node, more than one node may be required. You can read more about this in How many printers can I connect?. When you create your account a Default cluster is created for you.
Organisation
An Organisation is a group of clusters. A large print farm or an institutions such universities and schools may have different departments or classrooms each with their own set or printers. Clusters can be used to group these printers. When you create your account a Default organisation is created for you.
Create your first node
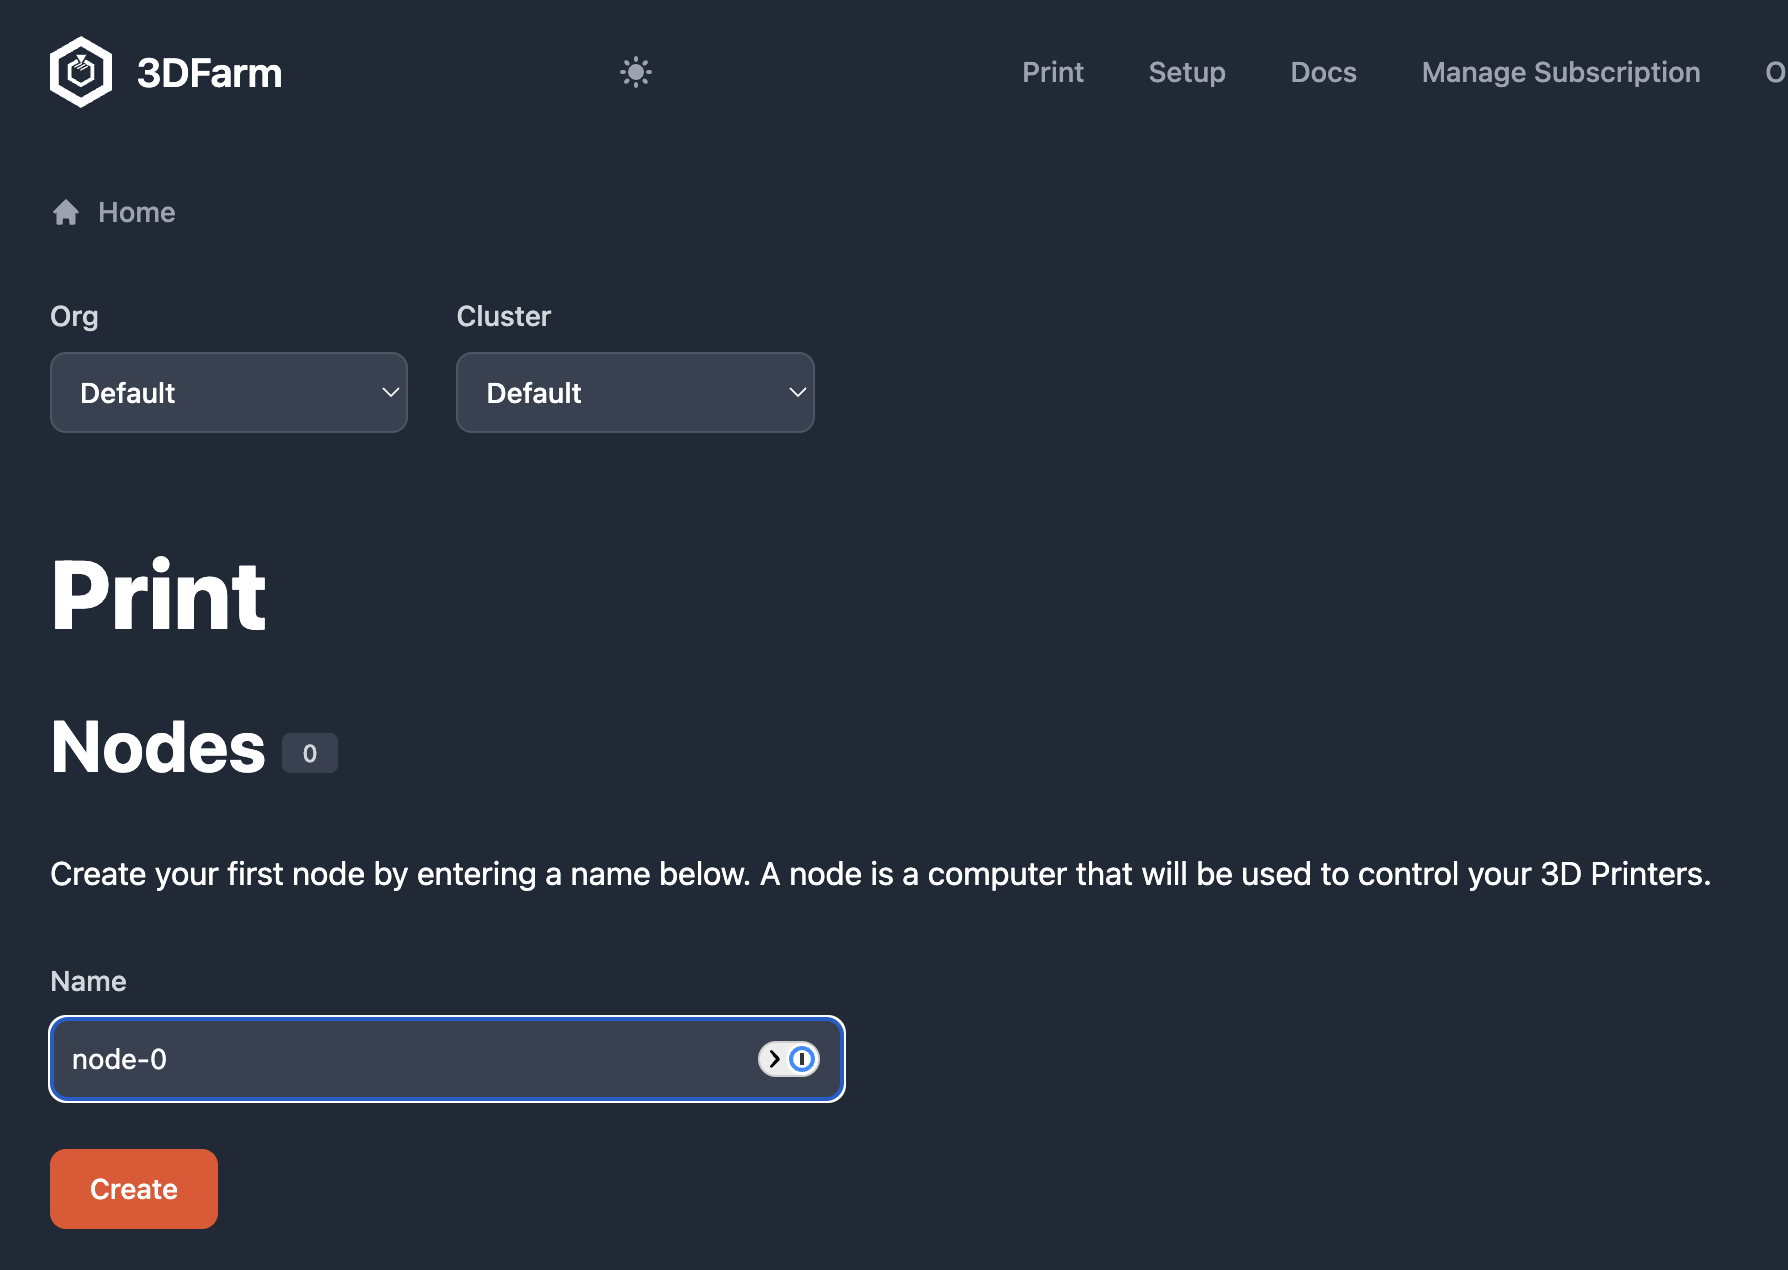
In the name field, type the name of the node. This is only really important for large print farms. For now type e.g. node-0 and click Create:

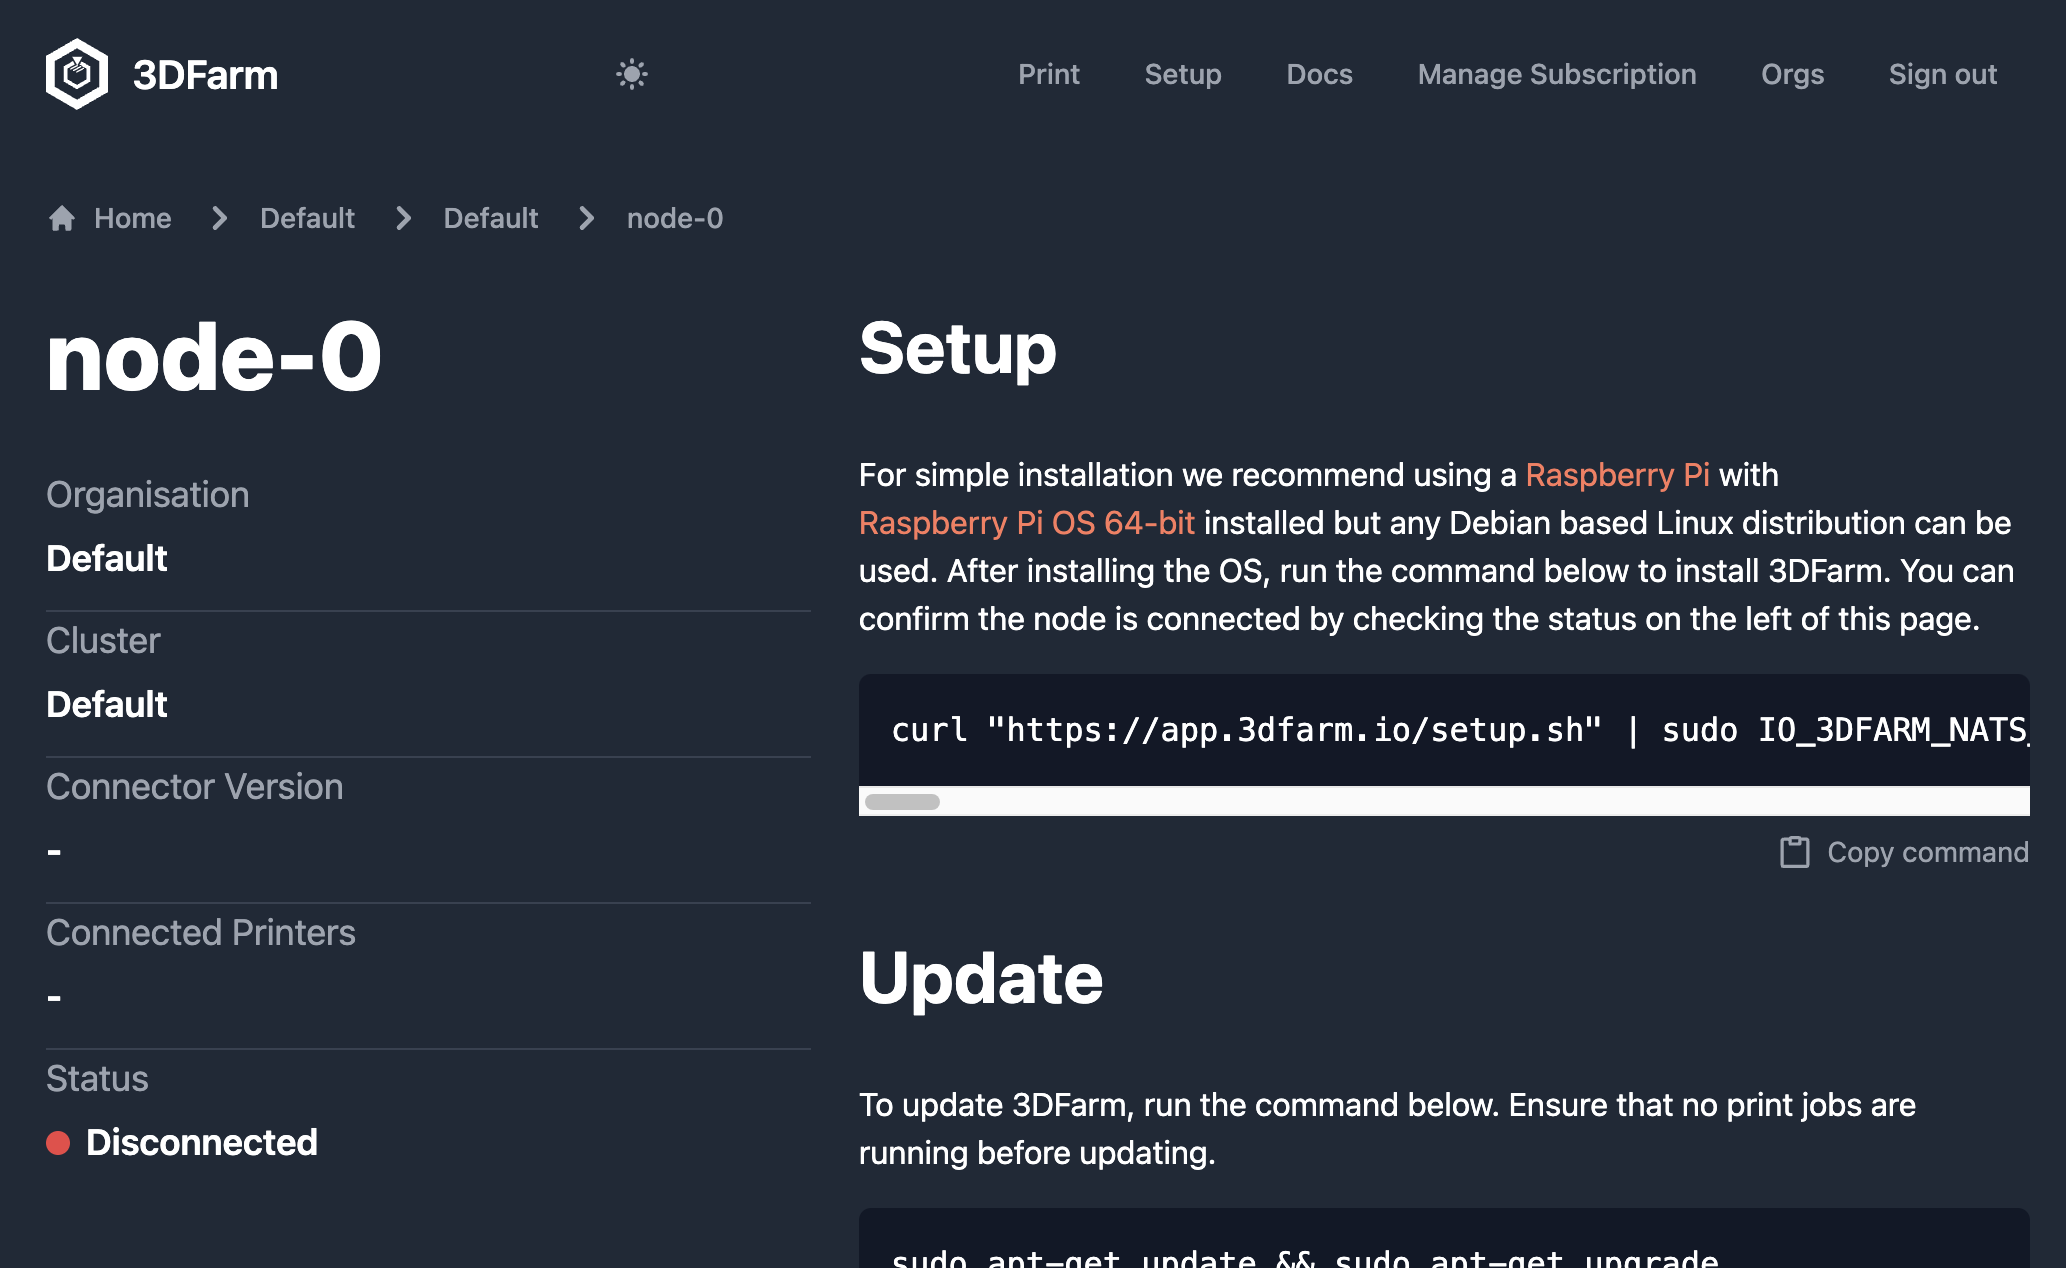
After clicking Create you should see the something like the following:

The command there that starts with curl ... is what you need to install 3DFarm on the Raspberry Pi. Click Copy command and then head back to your terminal, paste using CTRL-V on Windows/Linux or CMD-V on macOS and hit enter. This will result in the following:

3DFarm is now installed and you can now close your terminal, disconnecting from the Raspberry Pi.
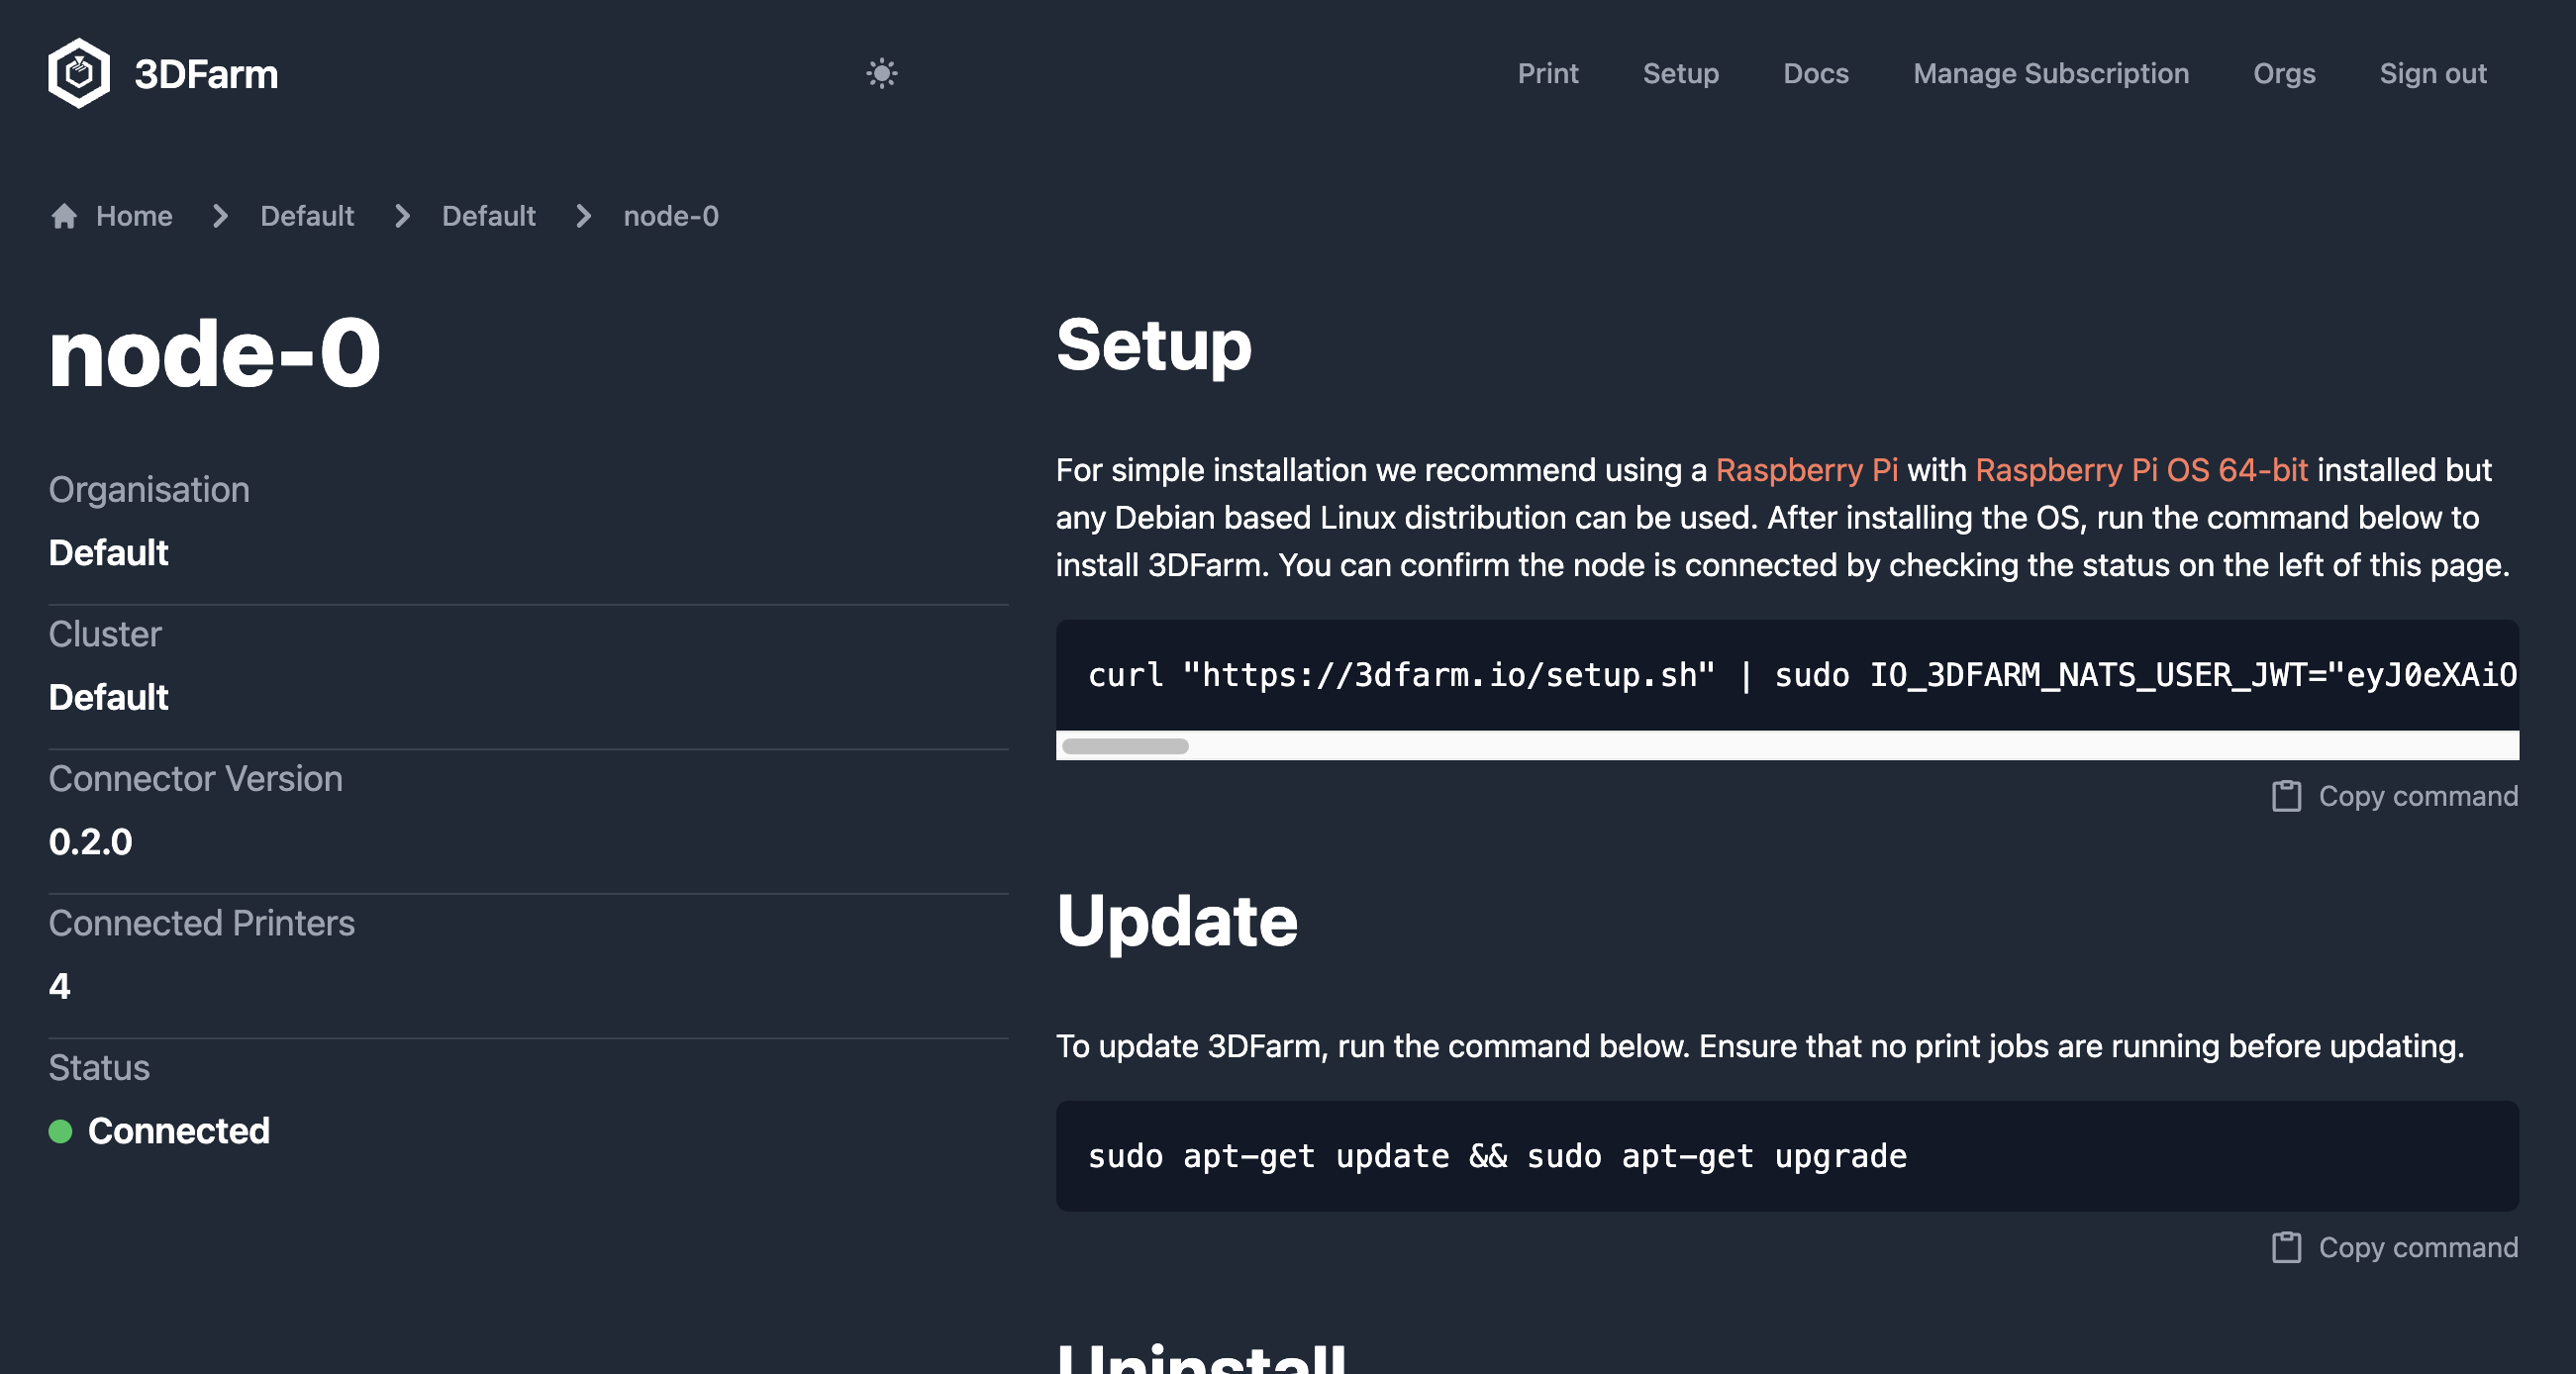
Refreshing the page on 3DFarm should show that the node is connected.

Click Print in the top section and continue to the next section to start printing.