Setting up the Raspberry Pi
First of all you need to install Raspberry Pi OS onto the SD card. Insert the micro SD card into the reader and plug this into your computer.
Next, download and install Raspberry Pi Imager.
Afterwards, open the imager and you should see the following:
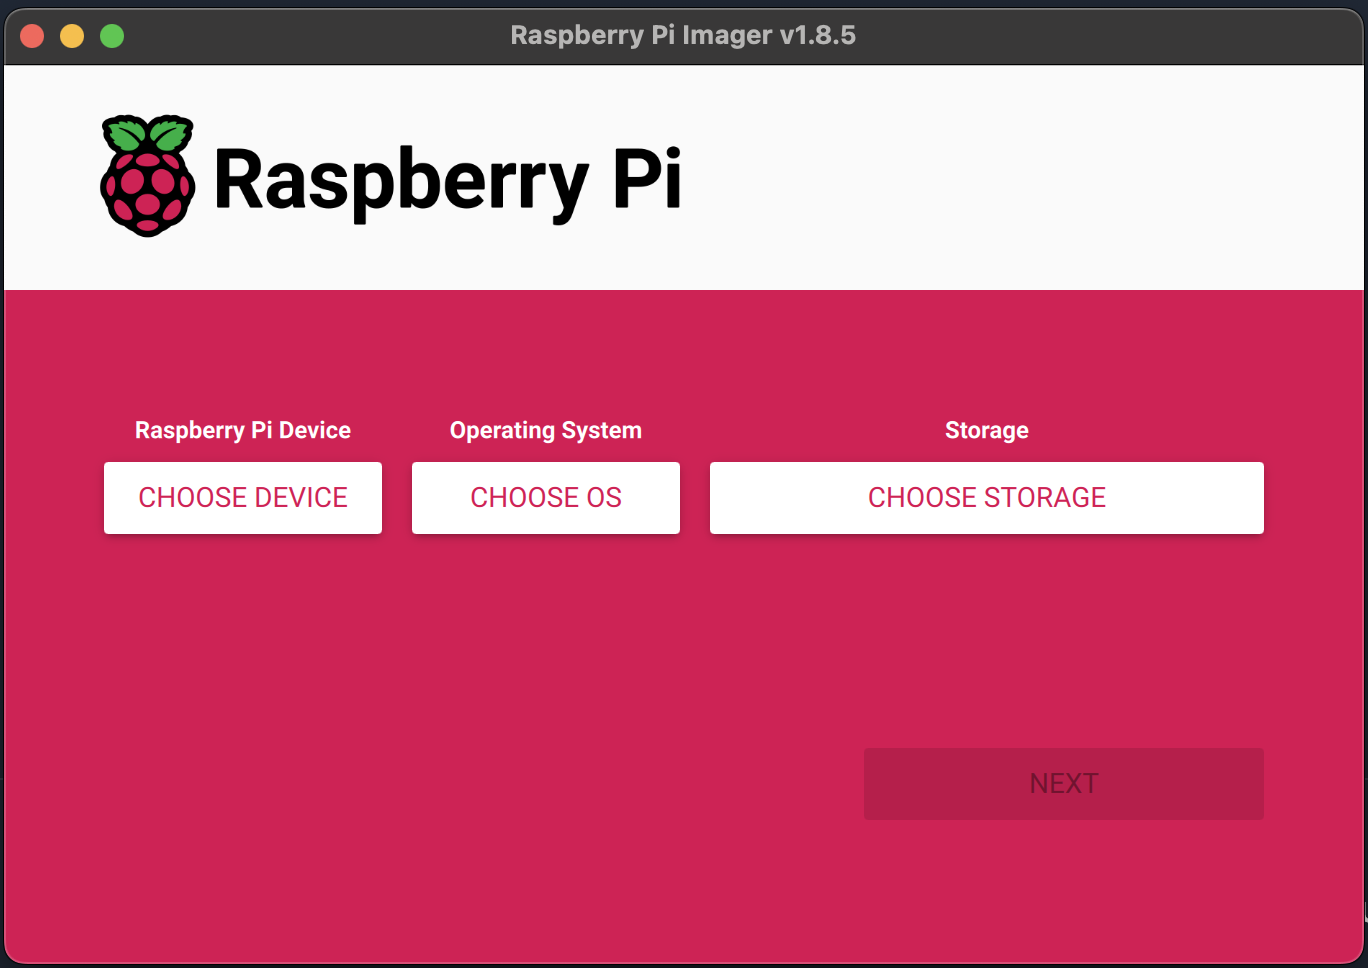
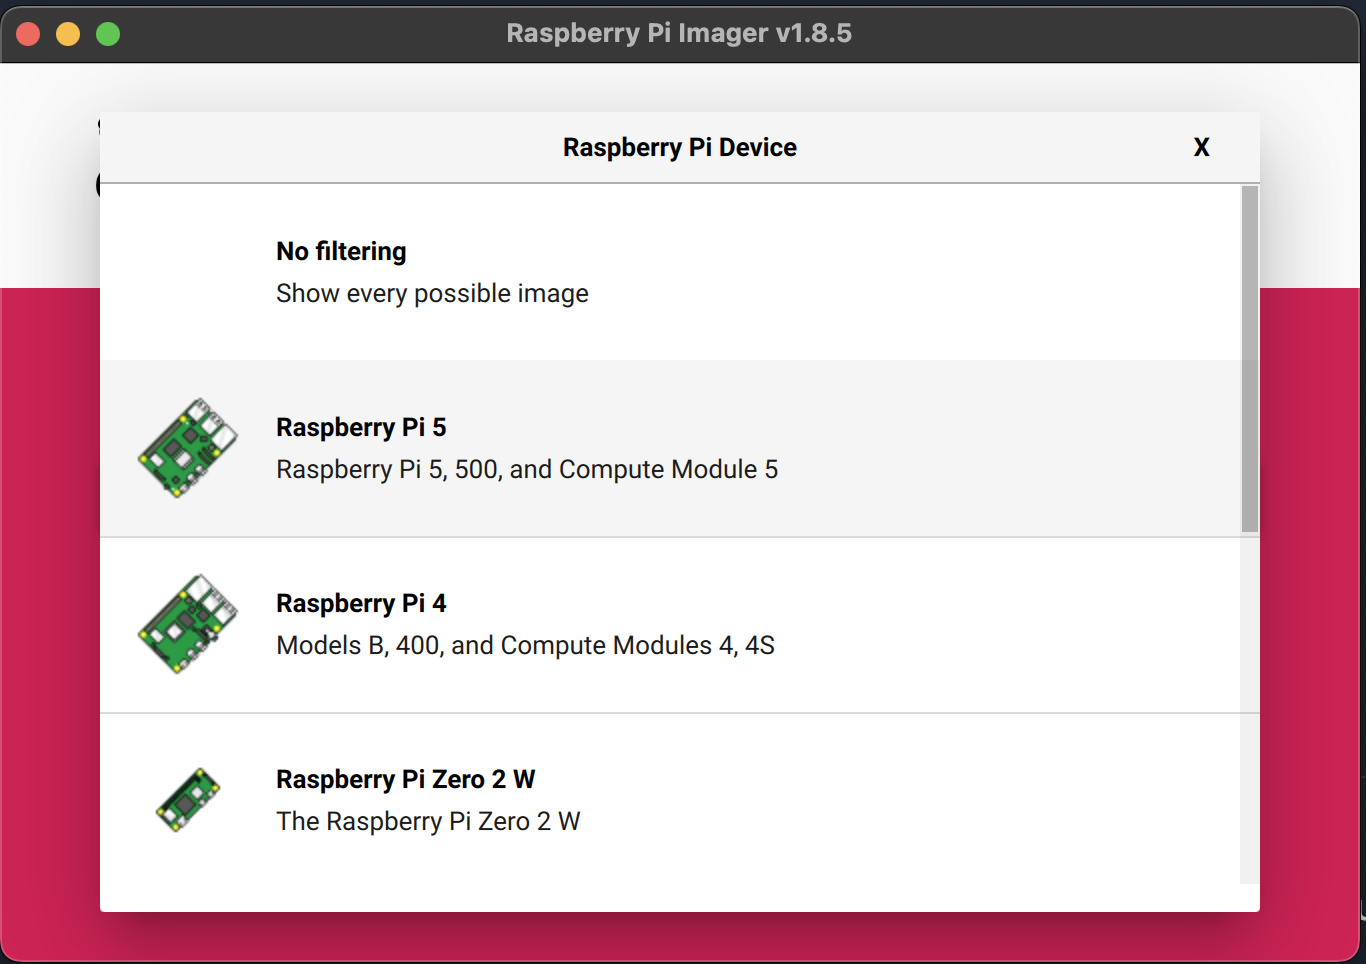
From Choose Device, select the Raspberry Pi you have. In this example I'm using a Raspberry Pi 5.
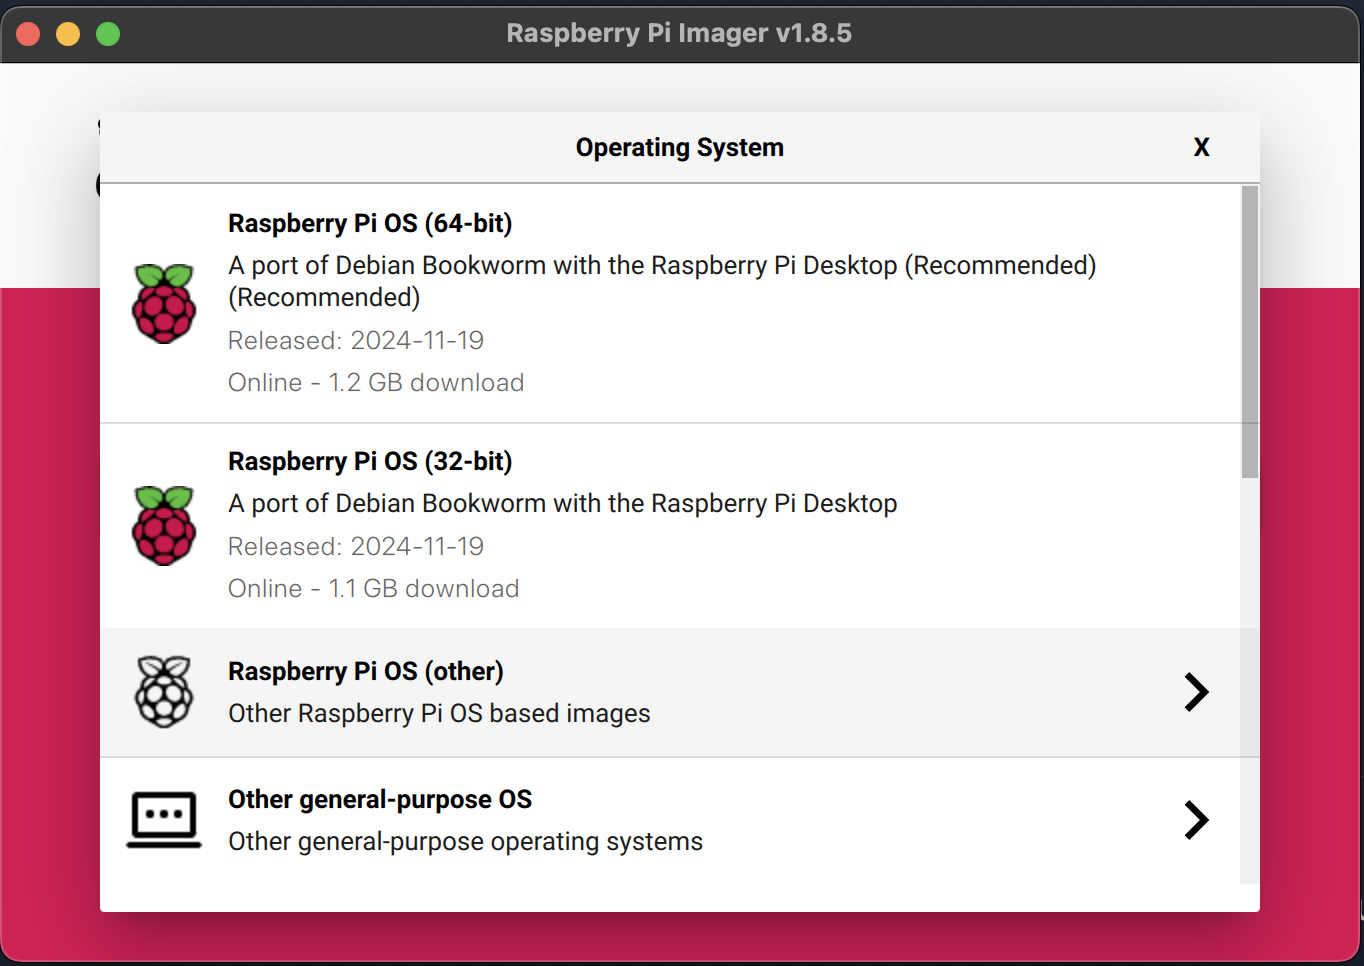
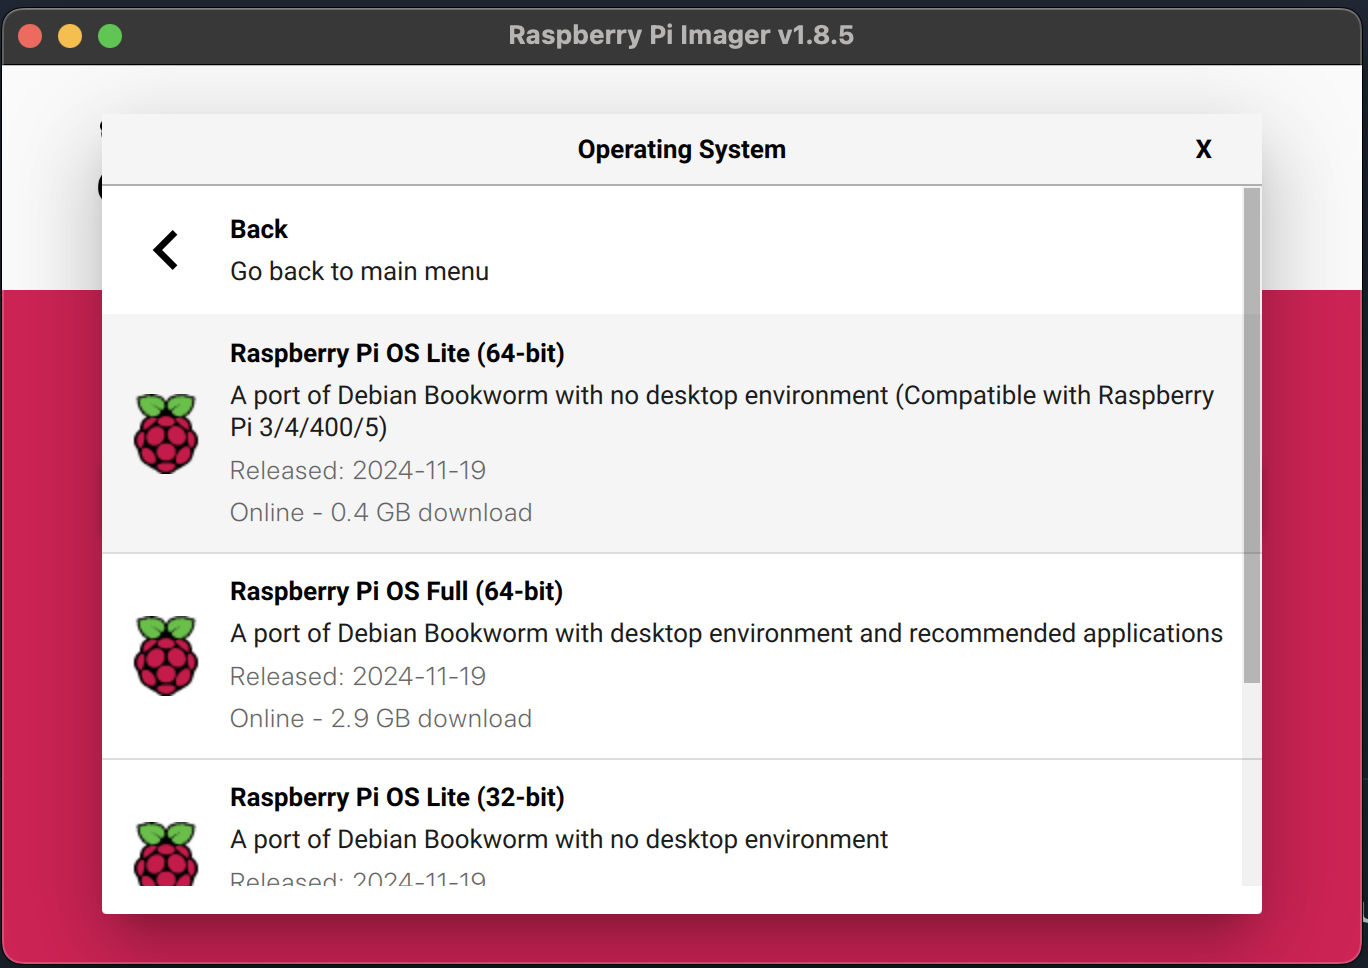
After this from the main screen, click on Choose OS and click Raspberry Pi OS (other) followed by Raspberry Pi OS Lite (64-bit):
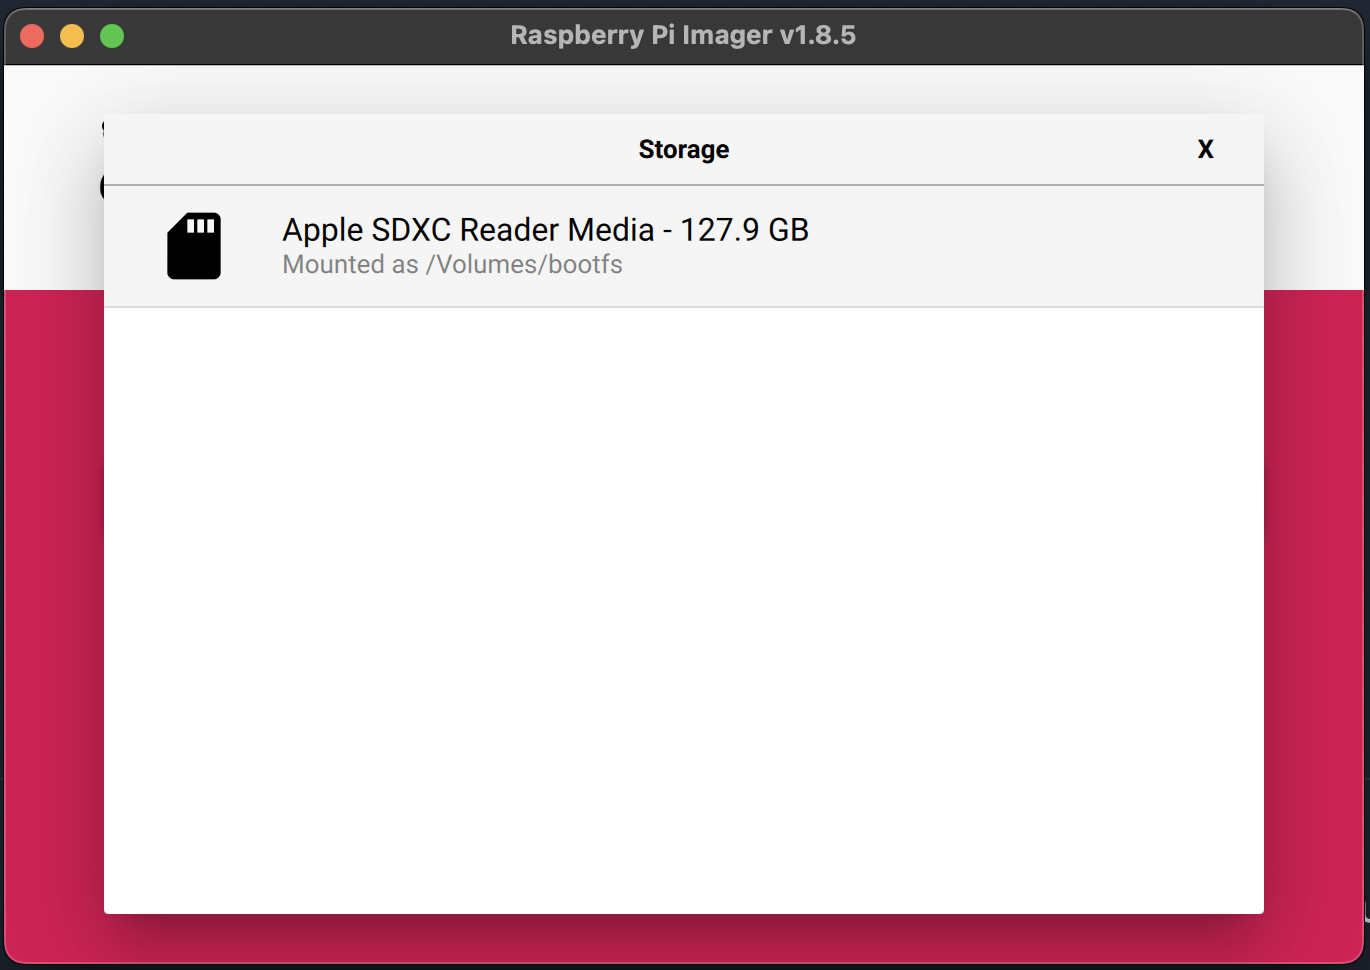
Next, from the main screen click on Choose Storage and select the SD card you inserted earlier. Important: make sure that you select the correct device. Choose the wrong device (including other plugged in removable media) could result in those being overwritten with Raspberry Pi OS. Not ideal.
In the example below I'm using a 128GB microSD card plugged into a MacBook.
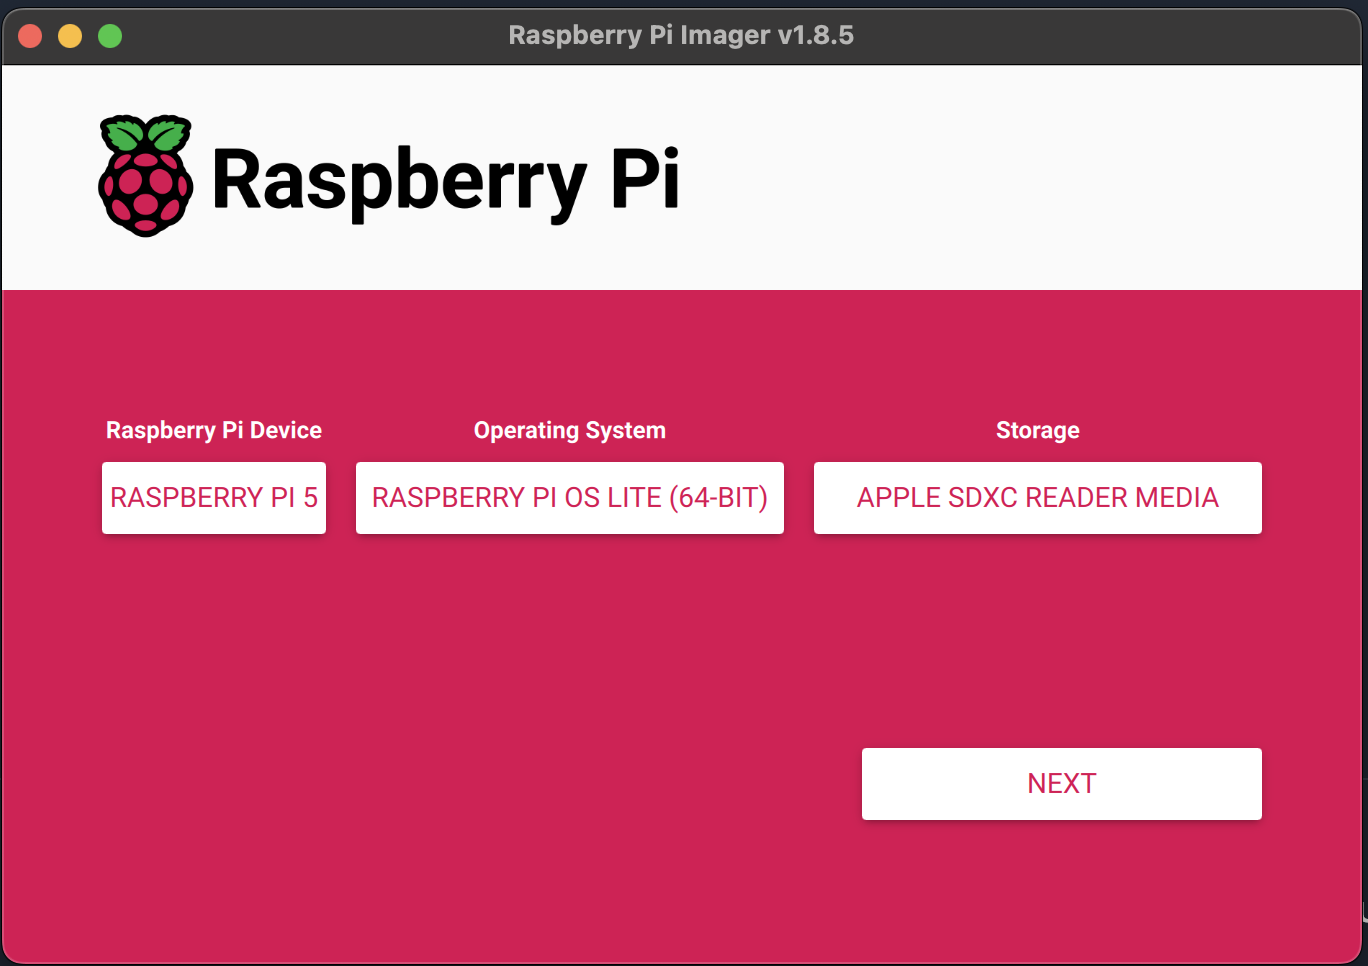
Then from the main screen click Next:
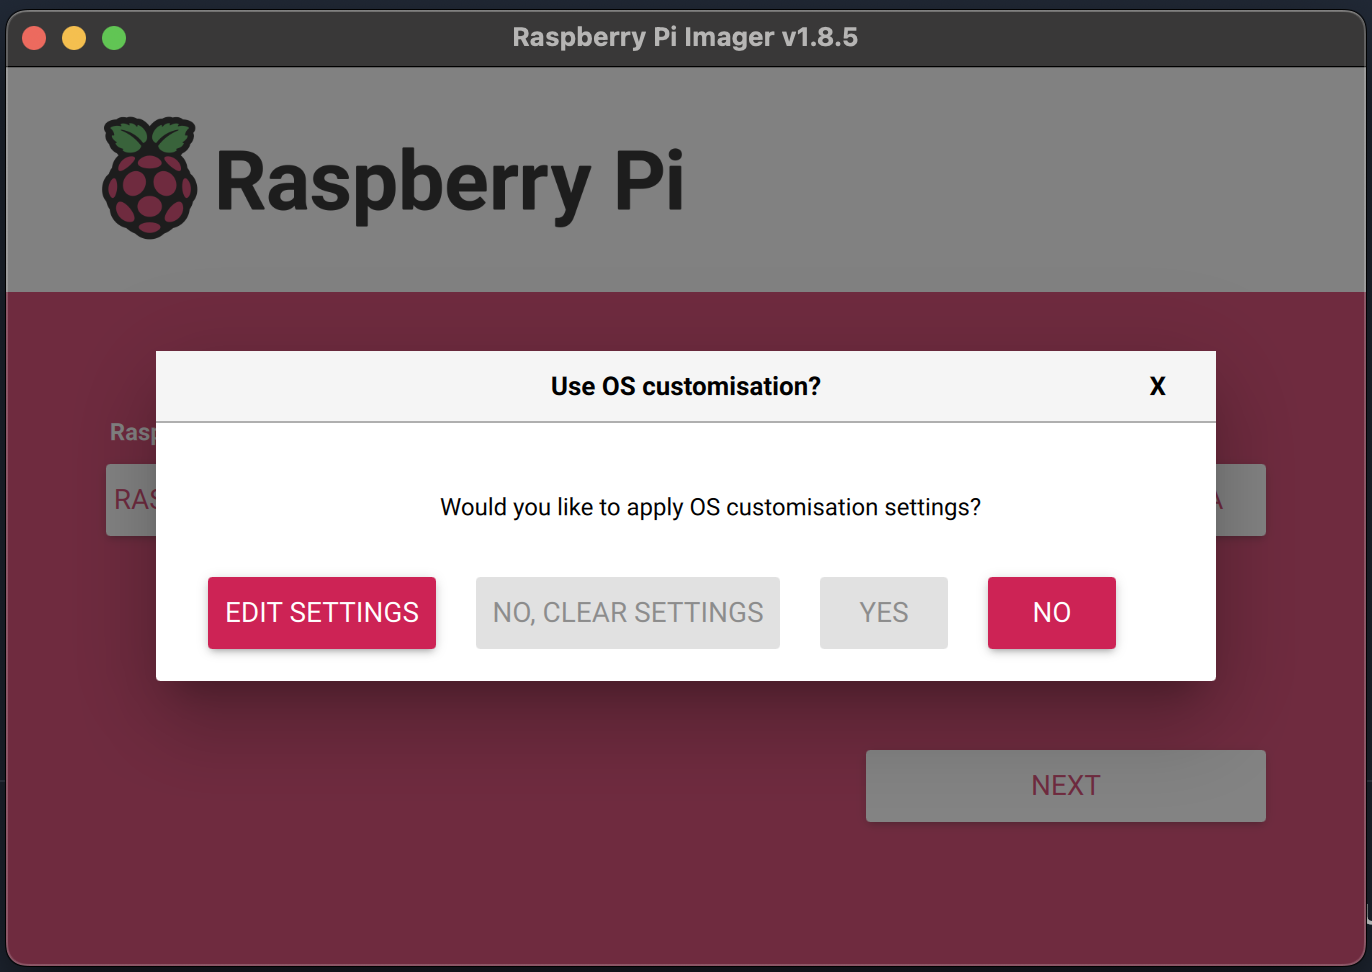
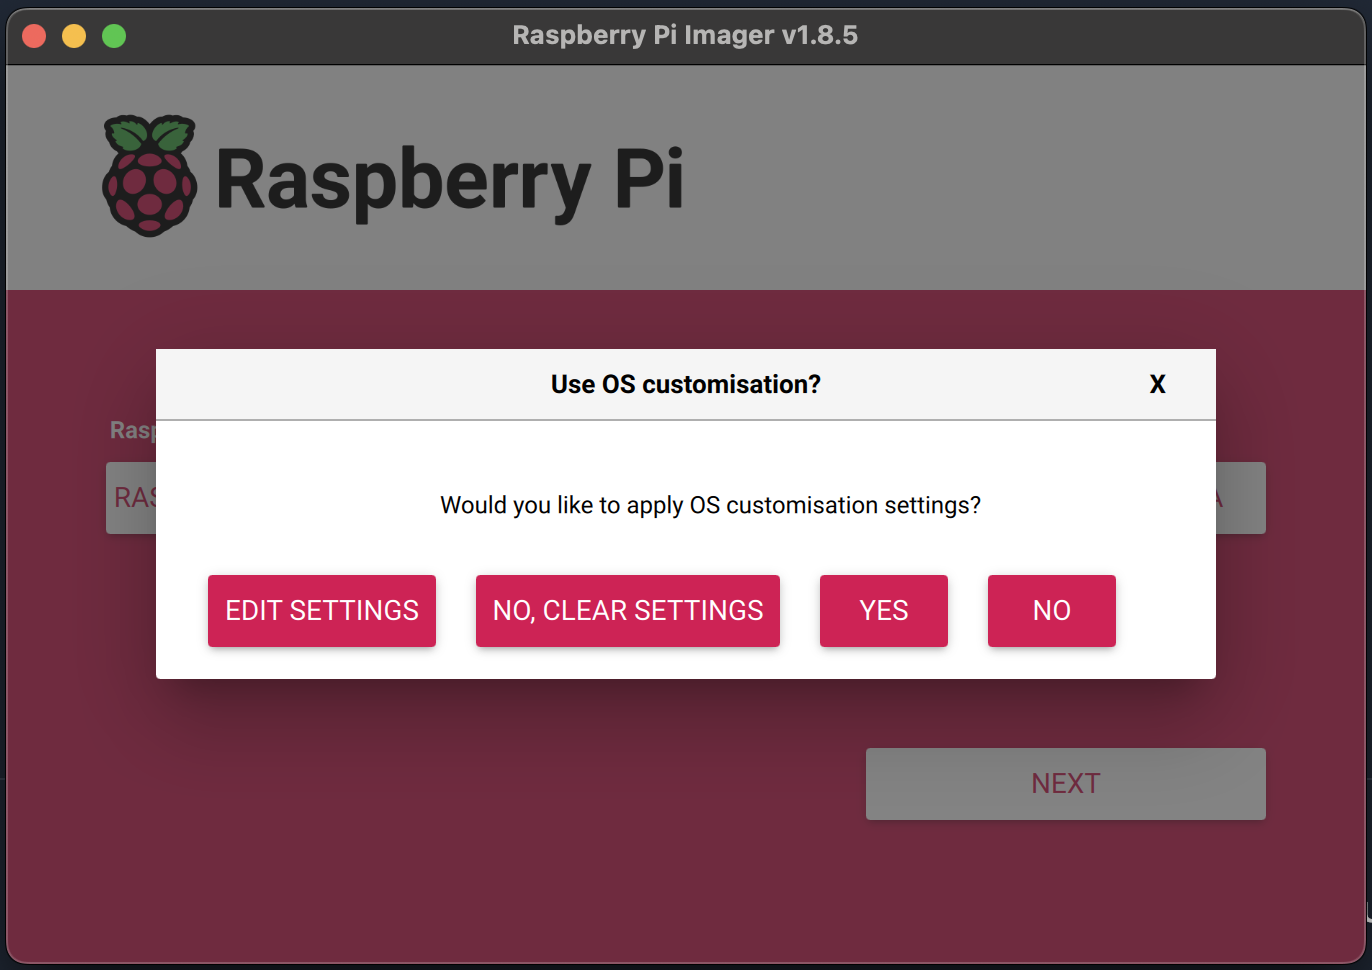
When presented with the next screen. Click Edit Settings:
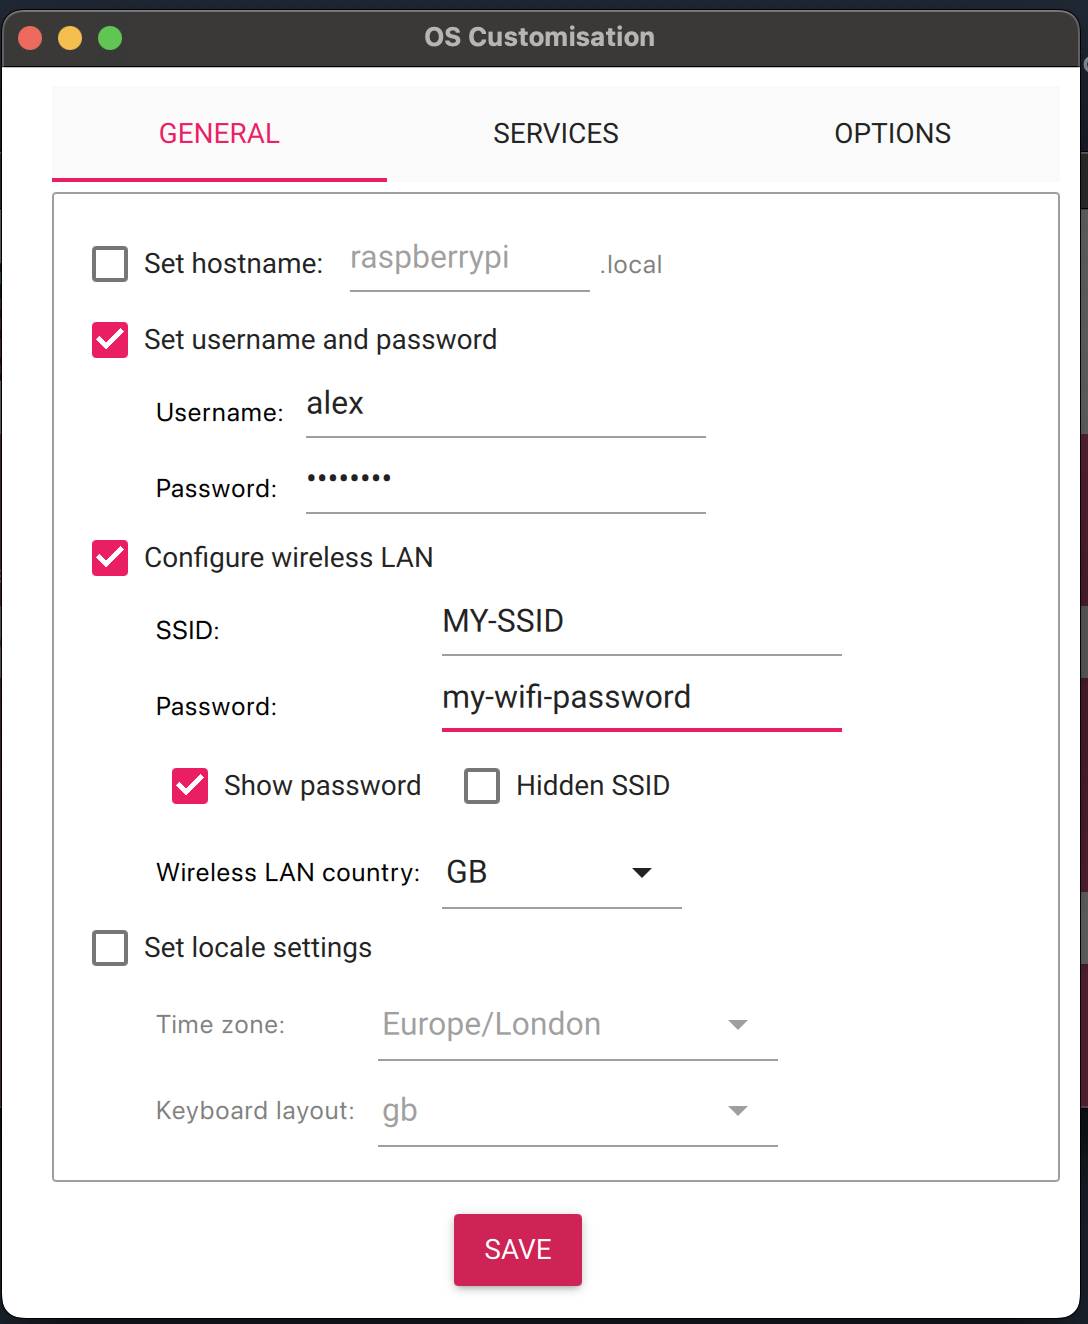
Under General, click on Set username and password and type in a username and a password you'll user to login the the Pi later on. If you'll be connecting the the Raspberry Pi using WiFi, click on Configure wireless LAN and enter you SSID and Password you use to connect. This can normally be found on the back of your router.
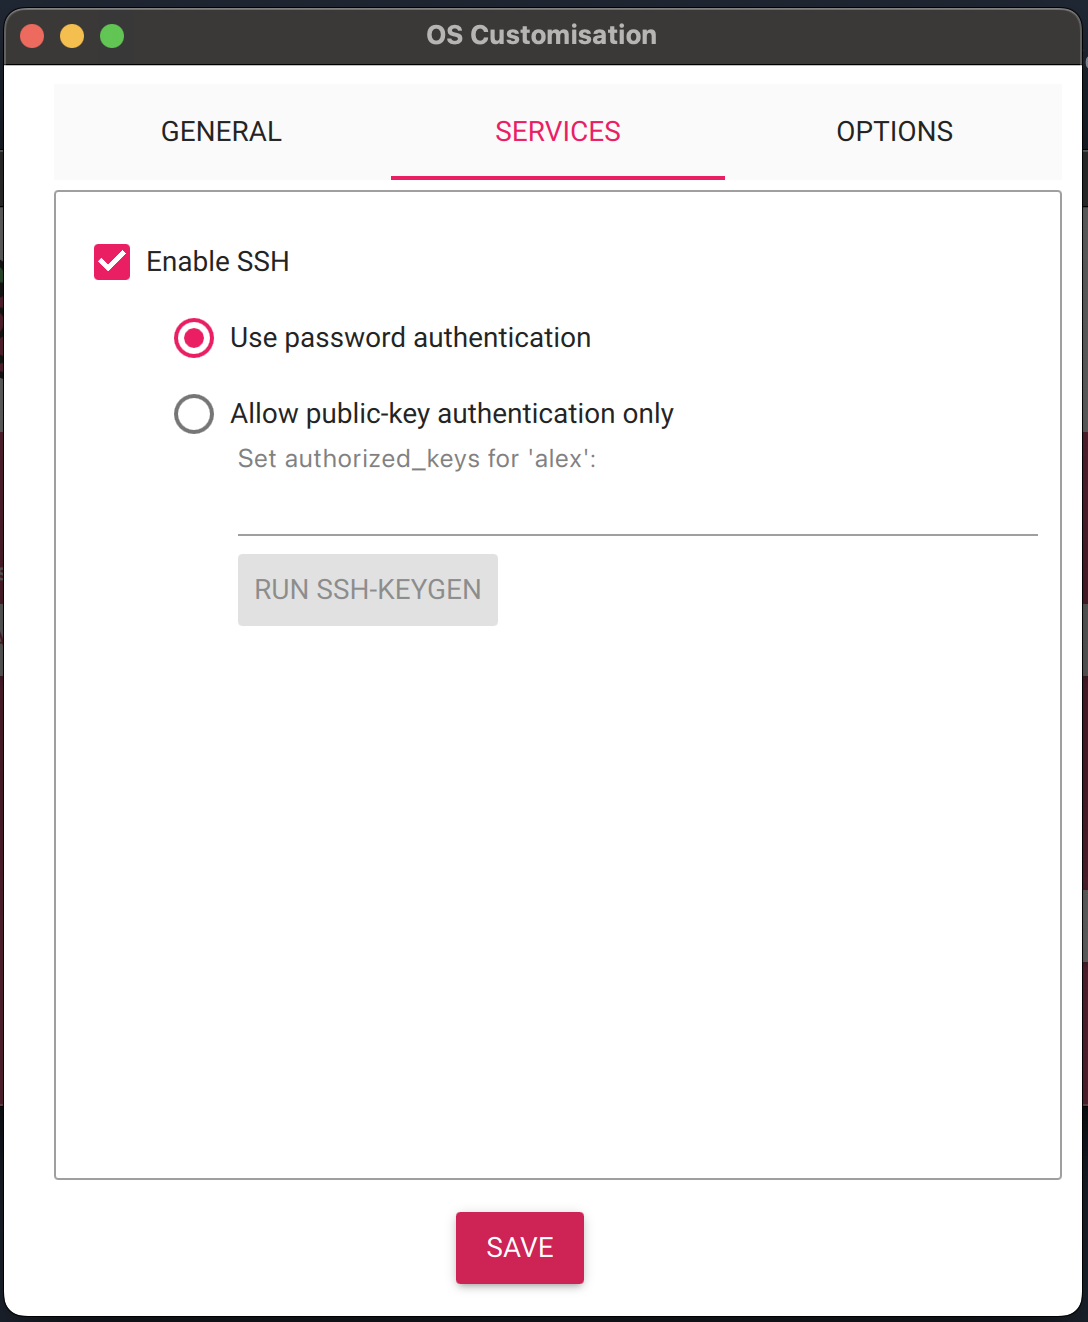
Next under the Services tab, click on Enable SSH and ensure Use password authentication is chosen. Then click save.
On the next screen click Yes:
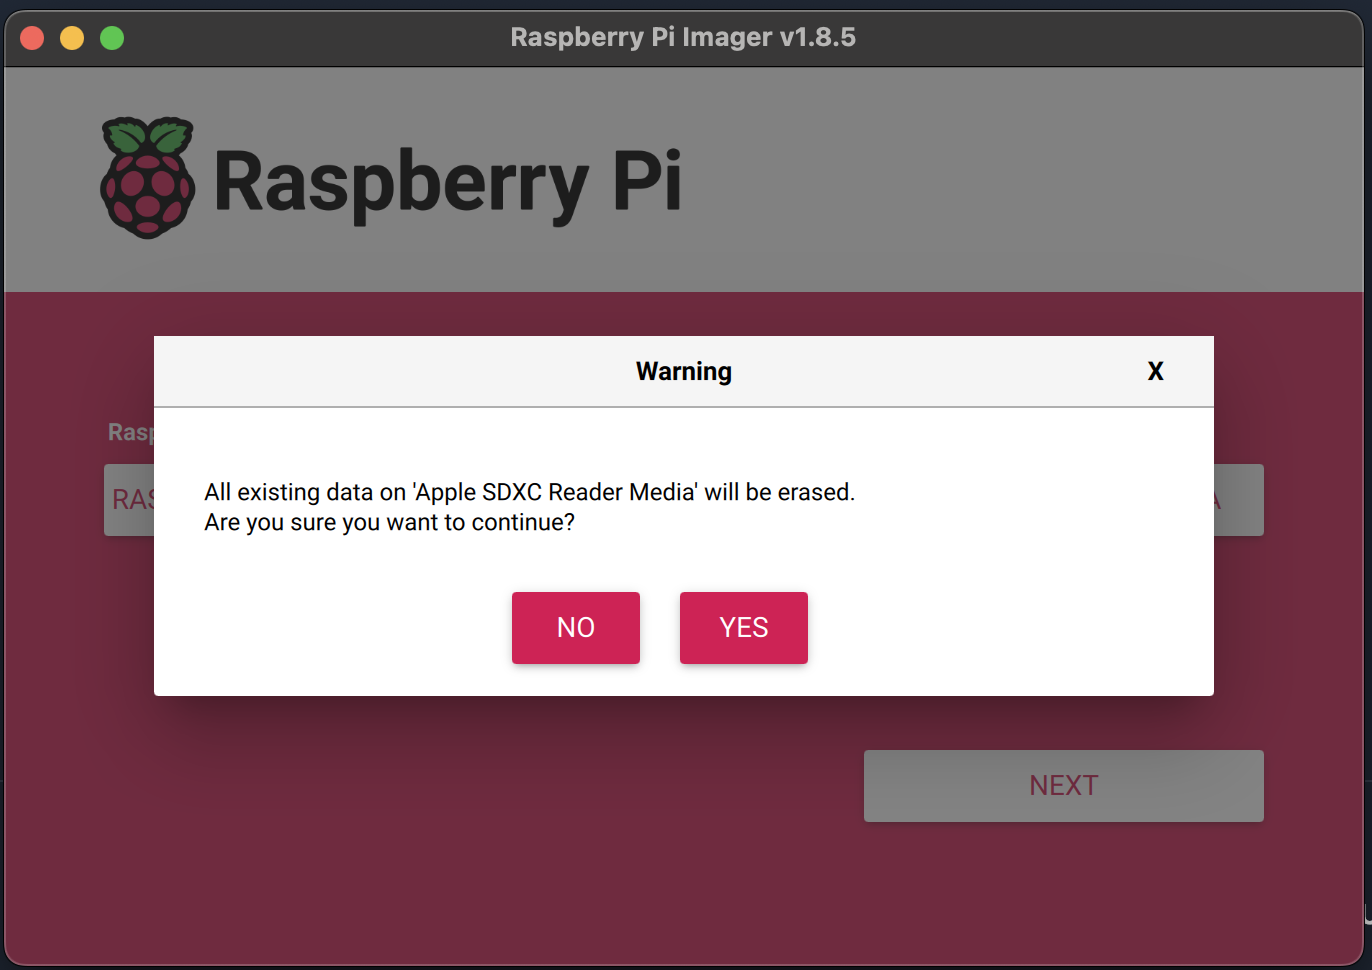
You'll then get asked to confirm if you want to continue, click Yes:
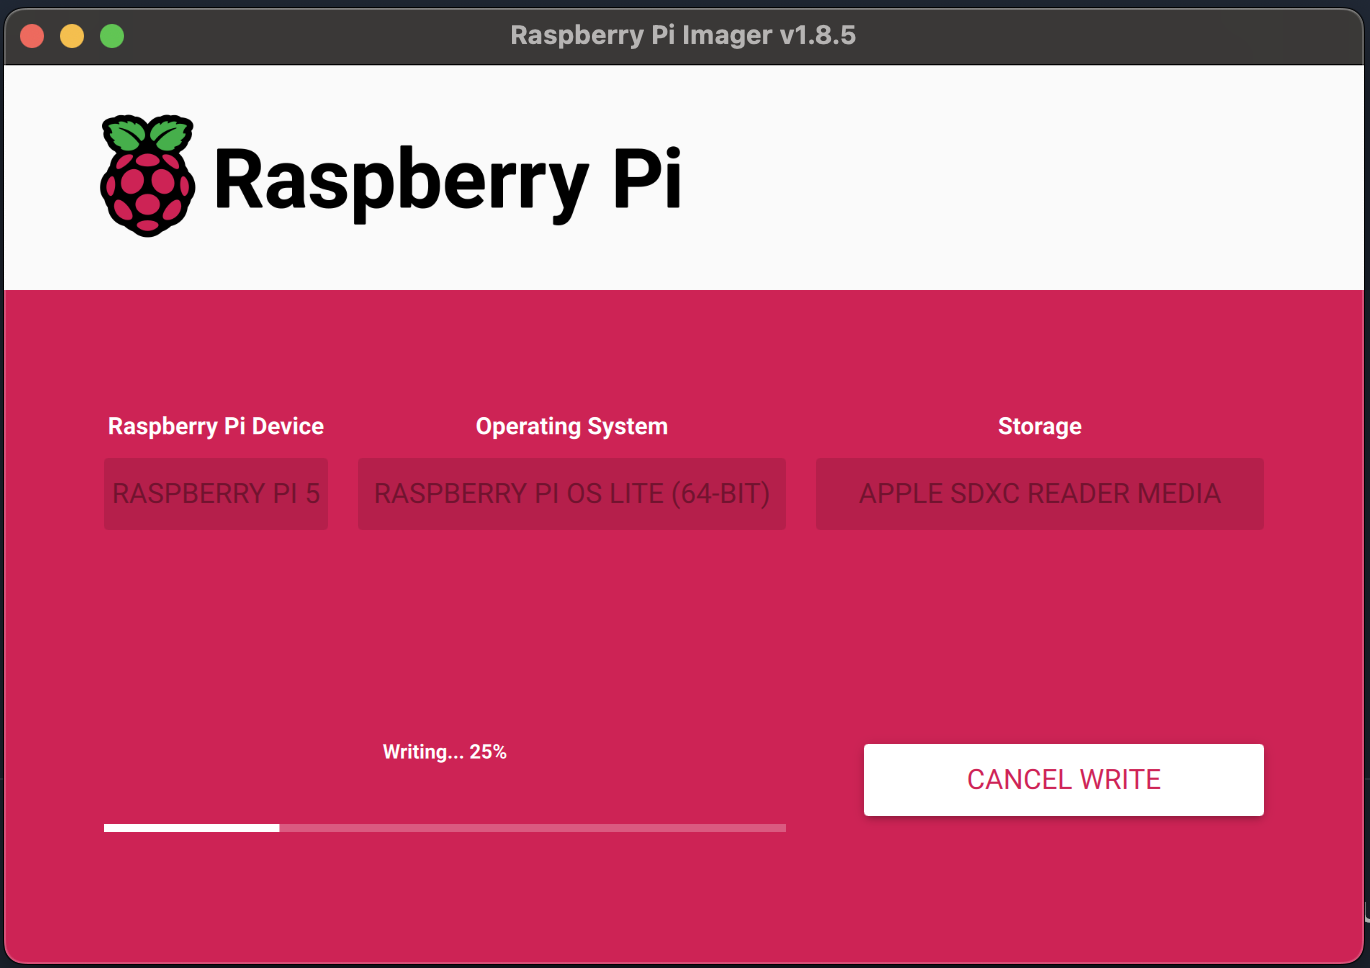
You'll then see the following screen while the SD card is being written to:
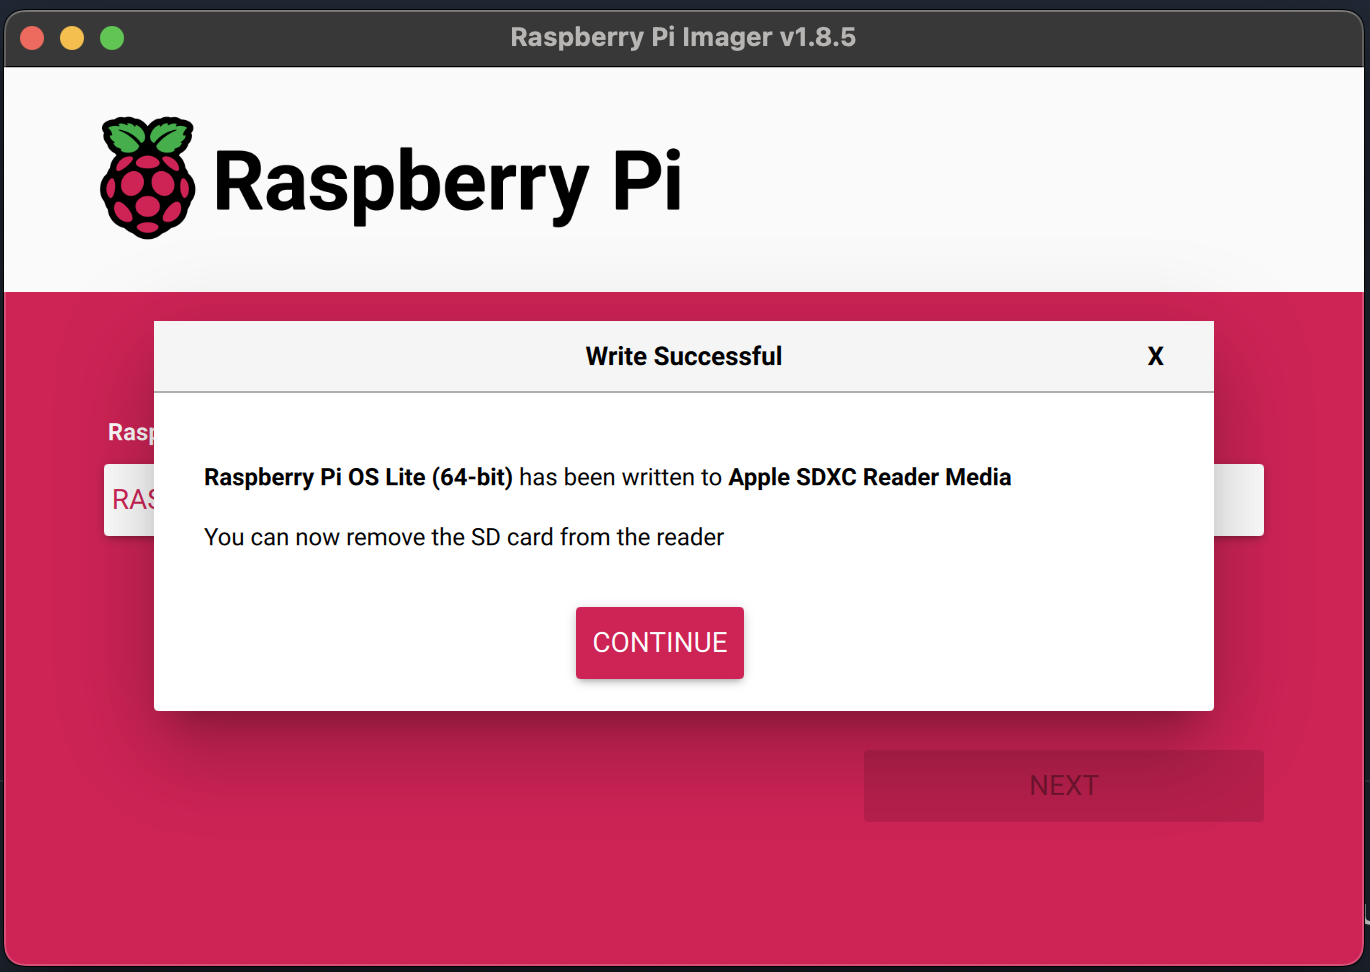
Afterwards you'll see a screen showing that Raspberry Pi OS has sucessfully been written to the SD card:
At this point, if it is not already, you can eject the SD card from you machine and plug it into the Raspberry Pi.